Showing posts with label festive. Show all posts

Wednesday, June 15, 2011

Picture Me Wednesday - 2011 Week 19

Photo taken @ York, England.

I'm the graduate this afternoon!
I've waited a long, long time... but finally *today* is the day.
Yayy!

Monday, May 23, 2011

The May Long

Happy Victoria Day!

Queen Victoria, the 'Mother of Canadian Confederation' - July 1, 1867.
To my fellow Canadians - I hope you all enjoy the May Long :)

~ photo taken @ Buckingham Palace, May 2011 ~

Tuesday, May 10, 2011

The Wedding

I'll admit that I have taken a long time to write about the wedding... I wasn't really in one place shortly after April 29th. I wanted to see the wedding's aftermath in England. I also wanted to see how my North American hometown had reacted to the wedding.

Thursday, April 28, 2011

Wedding Bells & Princesses

My stay in England just so happens to coincide with Kate and Wills wedding. The timing happened completely by chance, but I am ever-so-glad the wedding and my holiday fell into the same time period.

Viewing the hype leading up to today has been very interesting. I have taken many pictures of store displays, and yes, I have fallen into the tourist trap of buying products depicted with images of the couple. Limited 'Royal' Editions of Cinderella, Little Miss Princess Books, cookies, flags... you name it, and it's probably featuring tomorrow's Royal wedding somehow.

But, how are the English responding to the wedding? Are they eagerly awaiting tomorrow's tv coverage? To put it bluntly - not so much.

However, I'm looking forward to seeing Kate walk down the isle. I can't wait to see what her dress looks like. I guess I'm a girly girl. I can see a wedding, history in the making, and a girl becoming a princess... how could I say not join in on the hype?

I'll let you know how tomorrow goes on this side of the pond!

Sunday, April 24, 2011

Happy Easter!!

Dear family, friends, followers, readers and fellow book-adorers:


Happy Easter!!


Sending you kind thoughts and happiness,

Much love,

Ms. C

xo

Sunday, December 26, 2010

Double Chocolate Cranberry Chunkies

Sweet Sunday Yummy Lit Review:
Double Chocolate Cranberry Chunkies

Over the last few weeks I have been remaking the cookies that I fell in love with during 2010. What can I say - I wanted to make sure that I only served the very best cookies to company, friends, and family during the holiday season.

One of the cookies I've been making by the batch this week has not been featured on Coffee Tale Reviews... yet.

Monday, December 20, 2010

Long Distance Baking

Gingerbread Cookies:
Not a Sweet Sunday Yummy Lit Review


Have you ever baked with a friend over the phone? I never thought of it until E rang me during my gingerbread cookie baking session. I didn't quite feel like putting a stop to my baking nor telling him to ring another time. Instead, with phone rammed between my shoulder and ear, I had a halfway across the world 'baking-with-friends' experience.

Sunday, November 28, 2010

Navettes Sucrees

Sweet Sunday Yummy Lit Review:
Navettes Sucrees

Last night I debated what to make for this review. Delicious cranberry/chocolate cookies... or these unique and slightly odd looking French Christmas cookies. In the end, out of a desire to look maybe a bit more 'international,' I decided to go with the French.

I'm once again using the Canadian Living cookbook. On page 57 it says...


1 cup all purpose flour
1/2 cup granulated sugar
1/4 tsp salt
1/3 cup unsalted butter, softened
2 eggs, separated
3/4 tsp vanilla.


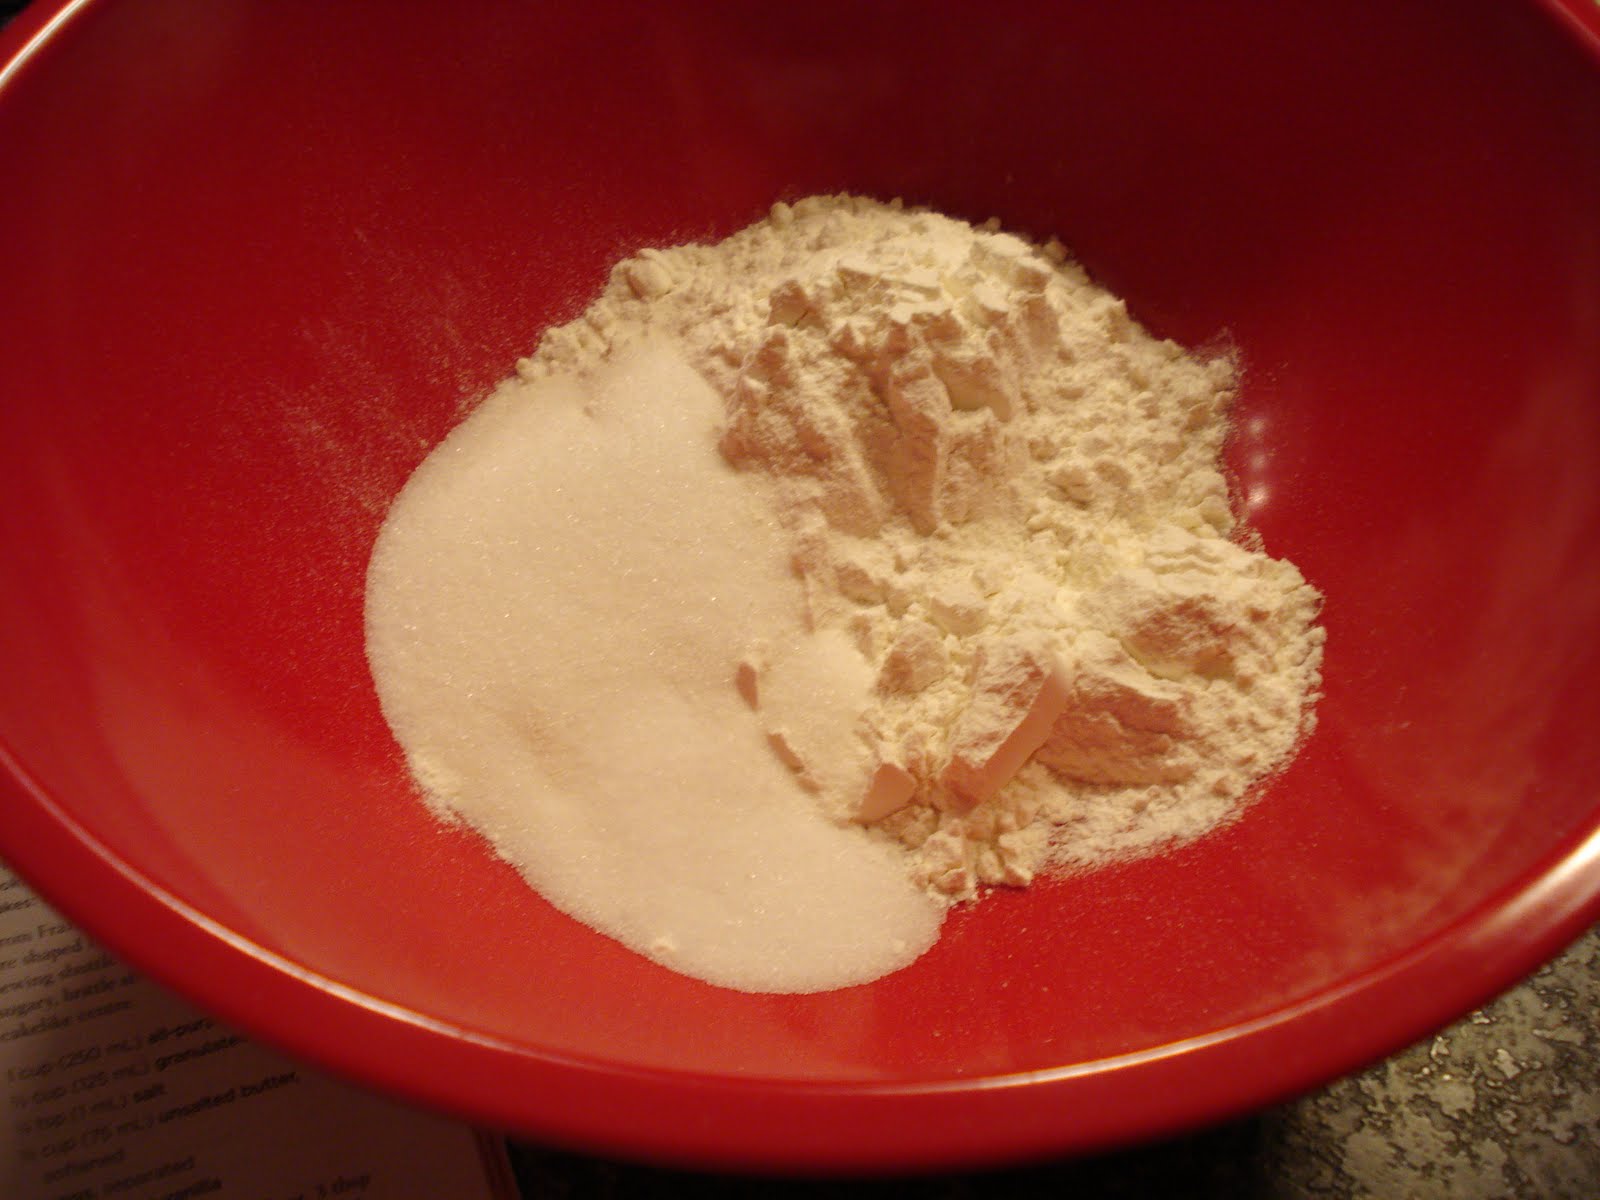
In bowl, whisk together flour, 3 tbsp of the sugar, and salt. With fork, cut in butter; stir in egg yolks and vanilla.


On lightly floured surface, knead dough until smooth and holds together. Press into disc; wrap and refrigerate for 1 hour.


Roll by 2 tsp into 2-inch long logs. In small bowl, whisk egg whites. With fork, dip each log into egg whites, allowing excess to drip back into bowl. Roll in small bowl of remaining sugar.

Bake for 20-22 minutes at 325*F.


I should have known from the moment I opened my egg carton that things would not go well. Cracked eggs. Yes, there sitting in my carton was two cracked eggs. My baking time immediately became pushed back as I decided to clean the carton, clean the eggs, and then try to separate the eggs.

Now, I know how to separate eggs just as well as any other cookie baker... Well, maybe not Martha. Anyways, I really know how to do it. But last night it just would not work. I'd crack the egg open and the shell would splinter into a million pieces. I crack another egg and the yolk would automatically break. It took me four eggs to get the job done.


And then kneading the dough... the ingredients are so very dry that it takes a lot of kneading to get it all to stick together. Make sure you're not tired when you attempt this recipe. By the end of my kneading, the dry ingredients were well combined. But the end product looked a lot like a brain sitting on my kitchen table.

Also, these cookies really stick to your baking sheet after a dip in the egg white mixture and a quick roll in sugar. Be ready to scrape your pans... hard.

And, of course, the most important part... how do they taste?


Navettes Sucrees are sugary on the outside with a hard brittle like shell, and cakey and moist in the inside. The different consistencies almost make me want to call it French Twinkies... but I think I would offend French bakers everywhere with that analogy.

My final verdict? These cookies are a lot of work. They don't make me go 'mmmmmmm' with an explosion of intoxicating flavours after the first bite... nor after the last.

Maybe, if you really feel like being 'international,' give them a try... But, as of right now I am just a little bit regretting my decline to the cranberry/chocolate cookie that I oh so craved.

Wednesday, November 24, 2010

Picture Me Wednesday - 2010 Week 3

Welcome to winter!

Okay, well it is still technically November - the time of falling leaves, the last kick of pumpkins, and general Fall-ish things.

But lately it has been cold. -17 degrees cold. Snowy, to boot.

They said it would be the worst Canadian winter since the 1950s and I *think* they may be onto something.

It feels like winter. It looks like winter. And thanks to Yummy Lit, it even smells and tastes like winter treats.

So, for Picture Me Wednesday this week I decided to capitalize on the snow.


This was taken at the very beginning of the snowfall. It was early morning and the sun was just cresting through the snow clouds. It was then that winter truly started - not a date on a calendar marking the end of Fall, but the beginning of our snowfall, bitter cold winds, and need for warm delicious drinks.

Oh, and the sound of winter?
That can be found here - Carly Rae Jepsen's Mittens. I found this song today and fell in love.


PS - I promise that next week I'll stop obsessing about weather patterns!

Sunday, November 21, 2010

Brown Butter Babies

Sweet Sunday Yummy Lit Review:
Brown Butter Babies

I realized earlier this week that it has been an exceedingly long time since I donned an apron, tied back my hair, and tackled a cookie recipe. So, with Sunday's Yummy Lit Review looming at my doorstep, I knew I had to tackle a new cookie creation. That's right -- after a month of no cookies, I'm finally back at it!

This morning I tried out a recipe from last week's baking magazine, Canadian Living. On page 27 (in case you're in my neck of the woods and would like to check out the hard copy) it says we'll need:


3/4 cup unsalted butter
1 1/2 cups packed dark brown sugar
1 egg
1 egg yolk
1 1/4 tsp vanilla
2 cups all-purpose flour
1/2 tsp baking powder
1/4 tsp each of baking soda and salt
3 tbsp granulated sugar
30 walnut halves (I just used cut up walnuts, definitely not 30 and definitely not halved)

In small saucepan, cook butter over medium heat until brown and nutty, about 5 minuets. Let cool.


In large bowl, beat brown sugar with cooled butter until fluffy. Beat in egg, egg yolk, and vanilla.

In separate bowl, whisk together flour, baking powder, baking soda, and salt; stir into butter mixture in two additions.


Roll by rounded 1 tbsp into balls; roll in granulated sugar. Place, about 3 inches apart, on parchment paper-lined baking sheets (*I use Pam instead). With bottom of glass or measuring cup, press to scant 1/2 inch thickness. Press walnut half into centre of each.

Bake in 350* oven until golden, 12 to 14 minutes. Lt cool on pans on racks for 3 minutes; transfer to racks and let cool completely.


They say these cookies are for Christmas. I say, not so! When I took the first bite I wasn't sold on them. They are very sugary. There's something about them that does remind me of a Christmas cookie in the style of speculaas or gingerbread... but none of the required spices are in this creation.

After an enjoyable phone call and a second cookie I'm thinking they're not so bad after all. Maybe my good mood rubbed off on my cooking rating? I'm not so sure. They're pretty, I will give them that. But in the taste department they are nothing to rave home about.

Sunday, November 14, 2010

Brownie Buttons with Candy Cane Icing


Sweet Sunday Yummy Lit Review:
Brownie Buttons with Candy Cane Icing

Mmm Christmas baking! I knew when I saw these babies advertised I had to give them a shot. Who doesn't like peppermint infused chocolate treats? Actually, I do know people who aren't fond of this combination. I've secretly never understood them (sorry!). To me, peppermint and dark chocolate make the best marriage.


Here's our recipe from the Canadian Living: Special Cookbook Issue

1/2 cup salted butter
2 oz unsweetened chocolate, chopped
2 eggs
1 cup granulated sugar
1/2 tsp vanilla
1/3 cup all-purpose flour
1/4 cup cocoa powder
1/4 tsp salt

Icing:
1 cup icing sugar
2 tbsp butter, softened
2 tsp milk
12 mini candy canes

In heatproof bowl over saucepan of hot (not boiling) water, melt butter with chocolate until smooth. Remove from heat.

In large bowl, whisk eggs with sugar; whisk in chocolate mixture and vanilla.

In separate bowl, whisk together flour, cocoa, and salt; whisk into chocolate mixture to just blend. Spoon by 1 tbsp into foil or paper-lined mini muffin cups.

Bake in 350* oven for around 12 minutes. Let cool in pans on racks for 5 minutes. Transfer to racks and let cool.

Icing: Meanwhile, in bowl, beat together icing sugar, butter, and milk; pipe or spread over brownies, leaving a little brownie showing around edge. Sprinkle candy canes over tops.

* this book also provides a handy nutritional guide for all of their baked goods. This brownie is listed as having 88 calories.


These are really good. Better than good, even. The chocolate is rich. The icing is creamy in an oh-so-good way. And the peppermint!

I must say, at first I was a bit confused as to how to chop up a candy cane. I could picture bits flying everywhere as I mangled the candy with a large kitchen knife. One alternative was placing the candy in a bag, grabbing a wooden rolling pin, and beating the heck out of it. I can agree with the individual who proposed it - this would most definitely help alleviate any anger. But, it's almost Christmas... and despite the fact that I have a lot of homework, I'm not necessarily anger ridden. Plus, I enjoy playing around with a knife every so often.

Also, for those who may attempt to make these yummy treats - watch out for the baking time. The recipe calls for 12 minutes, but I've come to the realization that unless you want slightly un-cooked brownies, make sure they're in for 15.

Bye-bye until next week... I think it's time I pick off the extra candy cane bits from my apron.

Happy Sweet Sunday everyone!

Sunday, November 7, 2010

Gone French

Sweet Sunday Yummy Lit Review:
Spiked Egg Nog French Toast

Tuesday morning I went all-out French.

Coffee?
French Dark Roast.

Breakfast?
French toast.... a la spiked egg nog.

That's right, Spiked Egg Nog French Toast. I became determined to try out an older recipe on Pinch My Salt after browsing blogs during Monday evening. I must admit, the thought of egg nog in combination with French Toast most definitely helped me get out of bed.

I probably like rum just as much as all the other university students. However, I'm now running on a five year rule of no alcohol during days that involve studying, writing, or some kind of academic style work. Which means during the semester I nevvvver drink. I carried this rule on into my French Toast.

So, without further ado, here is the recipe adapted to be sans alcohol and to serve (sadly?) one person:


1 egg
1/3 cup store bought egg nog
1/4 tsp vanilla
1/8 tsp cinnamon
1/8 tsp nutmeg
2 slices of bread

Whisk together eggs, egg nog, vanilla, spices.
Heat the pan.
Dip bread into the egg mixture, allowing to soak slightly.
Butter the hot pan and place bread on it.
Cook until golden brown.
* If you need to serve more people or realllly want that rum, head on over to Pinch My Salt.


All I can say is Yummmmmm. This was amazing. It tasted like Christmas. Heck, it even smelt like Christmas. I'll most definitely be making these again in December... and perhaps January if I can still find Egg Nog.

Make some of these delicious morsels to welcome in Winter and the holidays this year... and check back here often - I have a feeling Sweet Sunday's are soon to become dominated by festive Christmas goodies!

Hope you all have a Sweet Sunday.


PS - what is your favourite French Toast style?

Sunday, October 24, 2010

Pumpkin Seeds

Sweet Sunday Yummy Lit Review:
Roasted Pumpkin Seeds

Over the last few days I have adapted my blog to include non-literary review postings as (until December) it is near impossible for me to read a book for personal pleasure. However, do not fret - I am in the midst of reading a verrrry long Victorian novel for class which may just make its way onto CTR.

Sweet Sunday has transformed this week. Instead of solely providing cookie reviews, I will also create and review other goodies. Muffins, cupcakes, cakes, breads... roasted pumpkin seeds? Well, they do involve the use of an oven.

This weekend I decided to tackle pumpkin carving. And, after diving into my pumpkin and retrieving a handful of seeds I knew I had to try to make something with them.

I wasn't quite sure what could be done with the seeds. Even turning to the internet did not lead to a whole lot of ideas. However, I did find a recipe for roasting pumpkin seeds at Rachel Ray's website. Here's what she says to do:


1. Clean, toss with extra virgin olive oil and salt.

2. Spread out onto a baking sheet.

3. Heat the oven to 350* F, toast for 30-40 minutes.

4. Give them a shake every once and a while to make sure they're toasted evenly.... or take them out when they are starting to brown.


I followed the recipe word for word. I cleaned the seeds and left them to dry overnight. This afternoon, mixing them with evoo and salt (sorry, I just dumped the oil and pinched the salt, no exact measurements here!), I put them into the oven for 30 minutes.

How did they turn out? Sadly, just alright. I have never roasted pumpkin seeds before... or even tried them for that matter... so I had no idea what to expect.

If you do try your hand at these, make sure to check them frequently. I tried a seed twenty minutes into the process and it was super tasty... However, at thirty minutes I find them to be a bit dry. I should have taken them out sooner... oh well, it was a learning process to say the least.

What do you do with your pumpkin seeds? I have one more pumpkin to carve this week, and I'm still open to seed-baking suggestions.

Ohh, and here's my finished pumpkin!


Hope you all have a Sweet Sunday.

Sunday, October 17, 2010

Black Cats and October Stars

Sweet Sunday Yummy Lit Review:
Black Cats and October Stars

First off - I finally have a computer-camera connection! And, I couldn't think of a better way to celebrate the end of a week of crazy due dates, late night research, and laptop drama than making a fresh batch of Halloween cookies.

These cookies are brand new to me... well kind of. See, there's this old Christmas Cookies recipe in my family. But it's Christmas Cookies - usually in the form of Christmas trees, Santa, stars... you get the picture. However, venturing into food coloured icing and spooky cats were uncharted cookie territory for me... until last night.


Here's the cookie recipe:

Combine in a bowl and set aside:
2 3/4 cups flour
1 tsp baking powder
1/2 tsp salt

Cream together in a mixer:
3/4 cup soft butter
1 cup sugar
2 eggs
1 tsp vanilla extract (or almond)

- beat in the flour mixture until smooth
- chill for one hour or until firm
- roll a small amount of dough 1/8 inch thick (keep remaining dough in fridge until ready to use)
- cut into desired shapes
- put onto greased cookie sheet
- bake at 375* F for 8 to 10 minutes
- remove to wire racks to cool


And the Icing (from The Baker's Bible, p 454):

3/4 cup icing sugar
2-3 tablespoons milk
1 tablespoon lemon juice
Red, Blue, and Yellow food colouring

Mix it all ingredients together, add a few drops of the colouring until the desired shades are reached.


These cookies were so much fun to make! Messy, and a bit time consuming, but fun nonetheless.

Getting the right colours might be tricky... at least it was for me. I went to the grocery store expecting to be able to buy black and orange food colouring. Instead I discovered that you can only buy the primary colours (and green, too). So, as a heads up, to make black combine a few drops of red, blue, and yellow food colouring. To get the exact shades will take a bit of time... especially if you haven't ventured into the art world for quite a while.

But, after a fun adventure with food colouring, I now have a cookie jar that practically screams Happy Halloween. Spooky black cats and red, orange, and yellow stars make the perfect festive cookie treat.

Hope you all have a Sweet Sunday,
Ms. C.
Related Posts Plugin for WordPress, Blogger...