Showing posts with label cookies. Show all posts

Sunday, July 29, 2012

Wedding Cookies


Sweet Sunday Yummy Lit Review:
Wedding Cookies


JJ (my brother and new sister-in-law) were married July 21st.  I, being the family baker, was in charge of helping create the wedding guests' gifts.  I spent one day making over 170 cookies, and another day presenting them on china plates which were designed for the couple in E's factory.  Here are a few pictures of the gifts in the making:

Cut out cookies with lemon icing and chocolate peanut-butter cookie duo were made by the dozens that day.  You can find the recipes here:

Cut Outs
Chocolate Peanut-Butter Cookie Duo

The cookies were later wrapped up in cellophane, tied with ribbons, and presented to guests... but alas, I have no pictures until the professional photographer sends his along.


Sunday, July 1, 2012

Sweet Sunday's Yummy Lit Review: Chocolate Crackles


 Sweet Sunday's Yummy Lit Review: 
Chocolate Crackles


Decadent.  Rich.  Gorgeous.... and not too sweet. 
Oh my goodness, these cookies are so, so, so delicious!

I have always wanted to try Martha Stewart's Chocolate Crackles recipe.  Dark, chocolatey-brown cookies with a white layer of confectioners sugar are hard to resist.  Really hard.  I decided earlier this week that it was finally time for me to beat my no-baking rut and try this cookies on for size.

The recipe for these bad boys can be found here.   The recipe is also located in Stewart's (2008) Cookies book (that's what I used).

Sunday, August 7, 2011

Snickerdoodles

Sweet Sunday's Yummy Lit Review:
Snickerdoodles

Three months ago JJ put an order in for cinnamon buns. In all due respect, I was very busy in those three months. Graduation. Birthday celebrations x 3. E was in town and JJ not so much in town. Full time work. It was hectic.

And those cinnamon buns they wanted, well I make them 100% from scratch. That means 5 hours of straight baking.

Putting my excuses *cough* aside, I took three months to make a pan of cinnamon buns. But, those buns did bring me promptly back into baking-mode.

Which brings me to Snickerdoodles.

I've wanted to try Snickerdoodles for awhile now. I hadn't heard of these cookies until last year... but when I saw how simple the recipe was I knew I had to give it a shot.

To be honest, I was skeptical that something with so little ingredients and such simple procedures could be so good!

Sunday, May 22, 2011

Lime Flowers

Sweet Sunday Yummy Lit Review:
Lime Flowers

Lime : Tart. Vitamin C. Antioxidant. Electric green. Aromatherapy ingredient. Excellent flavour for potato chips. Robbie Williams' description of the English.

It was only a few hours ago that I decided to add 'a main ingredient in delicious and crisp cookies' to this fruit's definition.

Sunday, May 1, 2011

Chocolate Chip Cookies


Sweet Sunday's Yummy Lit Review:
Chocolate Chip Cookies

A few months ago I was asked to make a batch of classic chocolate chip cookies for JJ. I quickly donned my apron, tied my hair back, pulled up my sleeves, and got to work.

What can I say? You say bake, and I'll ask how much.

Friday, April 1, 2011

March 2011 in Review

I haven't done a month-in-review post for a lonnnng time and I think March 2011 calls for one.

Why?

It was a great month for Coffee Tale Reviews... and me in general.


In March....

Wednesday, March 30, 2011

The Cookie Speaks

Tonight, after a dinner of Chinese food, I was greeted with three fortune cookie paper slips. One cookie, three slips... that's bang for your buck!


Sunday, March 20, 2011

Lemon Cookies

Sweet Sunday's Yummy Lit Review:
Lemon Cookies

Ahh.... a Sweet Sunday's Yummy Lit Review! I can't believe January was the last time I baked cookies and wrote one of these posts. Oh, how I've missed Sweet Sunday's!

Last night I decided to hop into Spring by making a batch of sugar cookies decked out in bright and cheerful coloured icing. I shared my favourite sugar cookie recipe last October. So, this time around, I thought I'd try lemon cut-out cookies.

Sunday, February 27, 2011

My Kitchen of Late

There is one cookie that has been an absolute hit here in Vancouver - JJ loves them, K loves them... heck, even I love them. These yummy treats are also E's favourite - so last week I sent him home with a container full to the brim of Chocolate Peanut-Butter Cookie Duos. I can't tell you how weird it was to be on Skype and see my little cookies being eaten halfway across the world! As a kind reminder to my old readers (and a pointer for new readers), make sure to try your hand at these cookies - if you love chocolate and peanut butter I'm sure you'll be pleased.


And, my most recent creation?

JJ kindly put in an order for Banana Chocolate Chip Cookies. I've been told they are as tasty as the batch I made last September.

Fresh out of the oven.

Sunday, January 23, 2011

Linzer Cookies!

Sweet Sunday Yummy Lit Review:
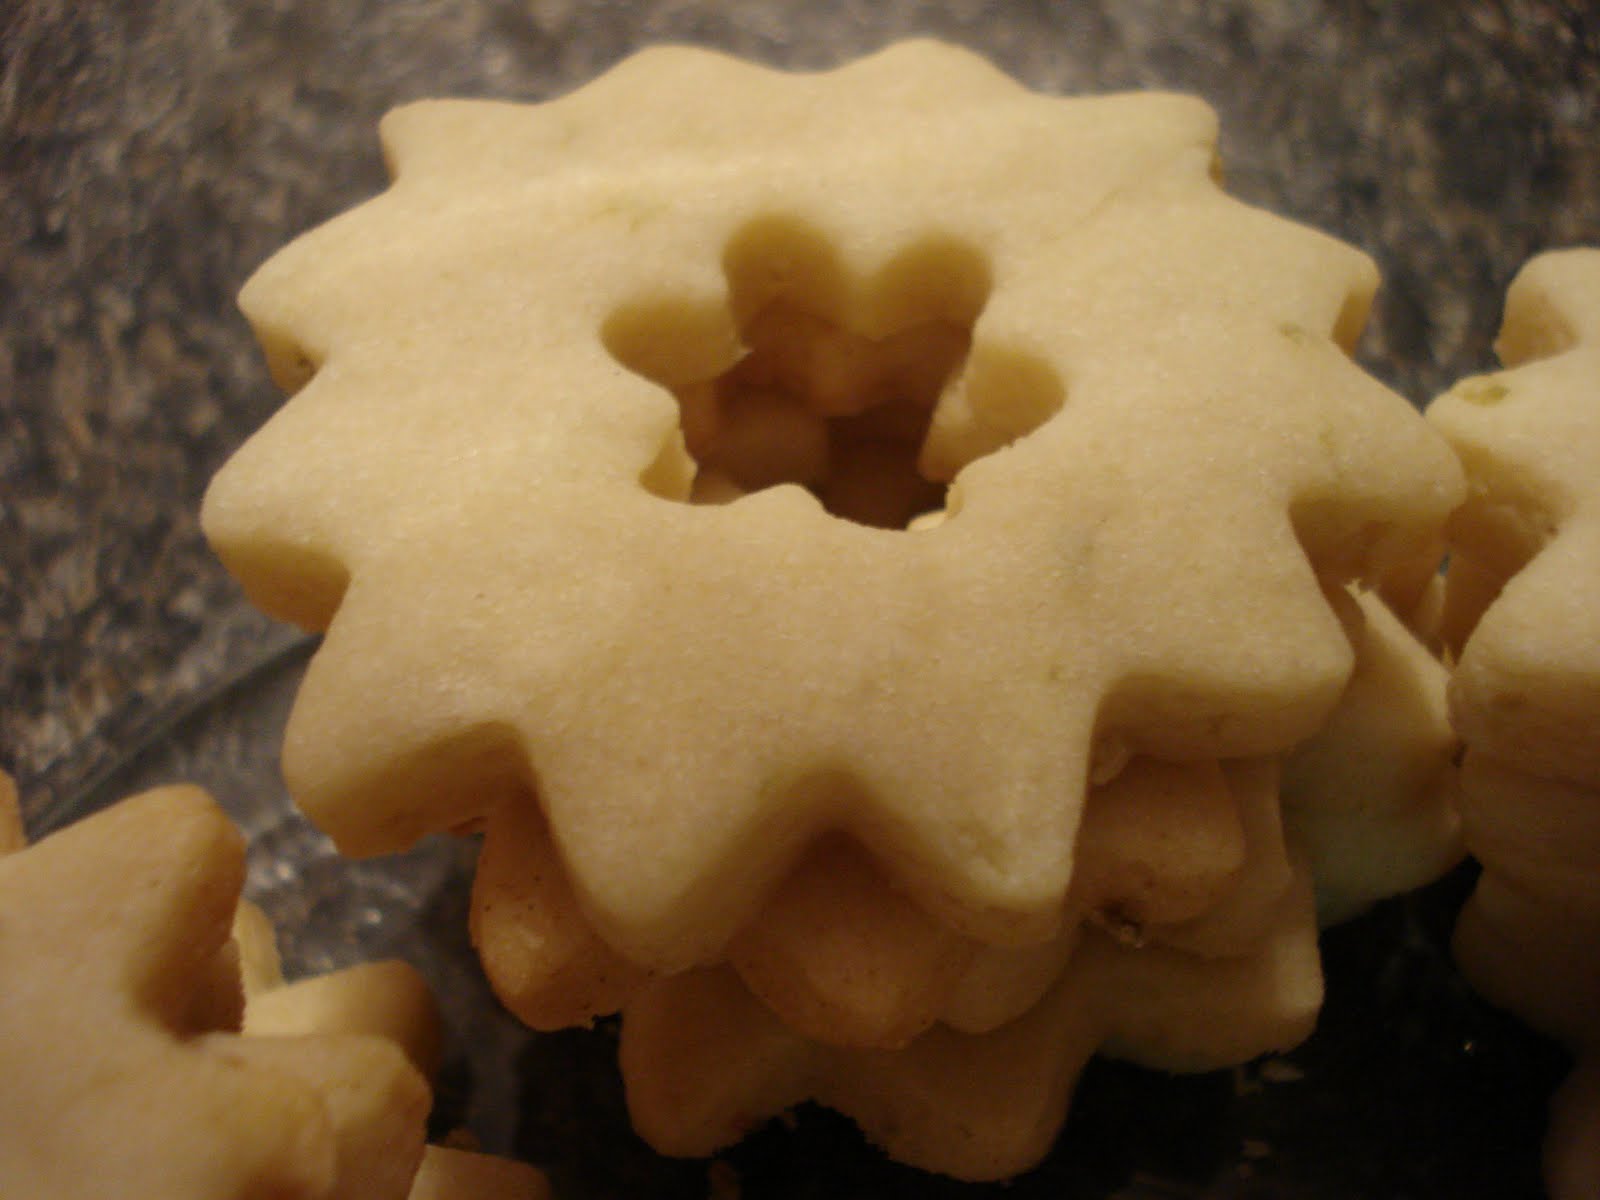
Pecan Linzer Cookies with Strawberry Filling

On Wednesday night I decided it was high-time to go back to baking cookies. While flipping through Martha Stewart's Cookie book for ideas I stumbled across the Linzer cookie. I knew I found the cookie of the evening - no questions asked. Stewart's Pecan Linzer Cookies with Cherry Filling (I opted for strawberry) called out to me. I've always wanted to try my hand at Linzer cookies. They appeared like a good midnight challenge... but they're really quite simple. Well, with a good baking book's directions, that is...

On page 137 of her Cookie book, Stewart says:

2 cups all-purpose flour, plus more for dusting
1/2 teaspoon baking powder
3/4 teaspoon pecan halves
2 tablespoons confectioners sugar, plus more for sprinkling
1/8 teaspoon salt
1/8 teaspoon ground cinnamon
1/2 cup cold unsalted butter, cut into small pieces
1/4 cup granulated sugar
1 teaspoon pure vanilla extract
1 large egg
1/2 cup cherry jam, strained

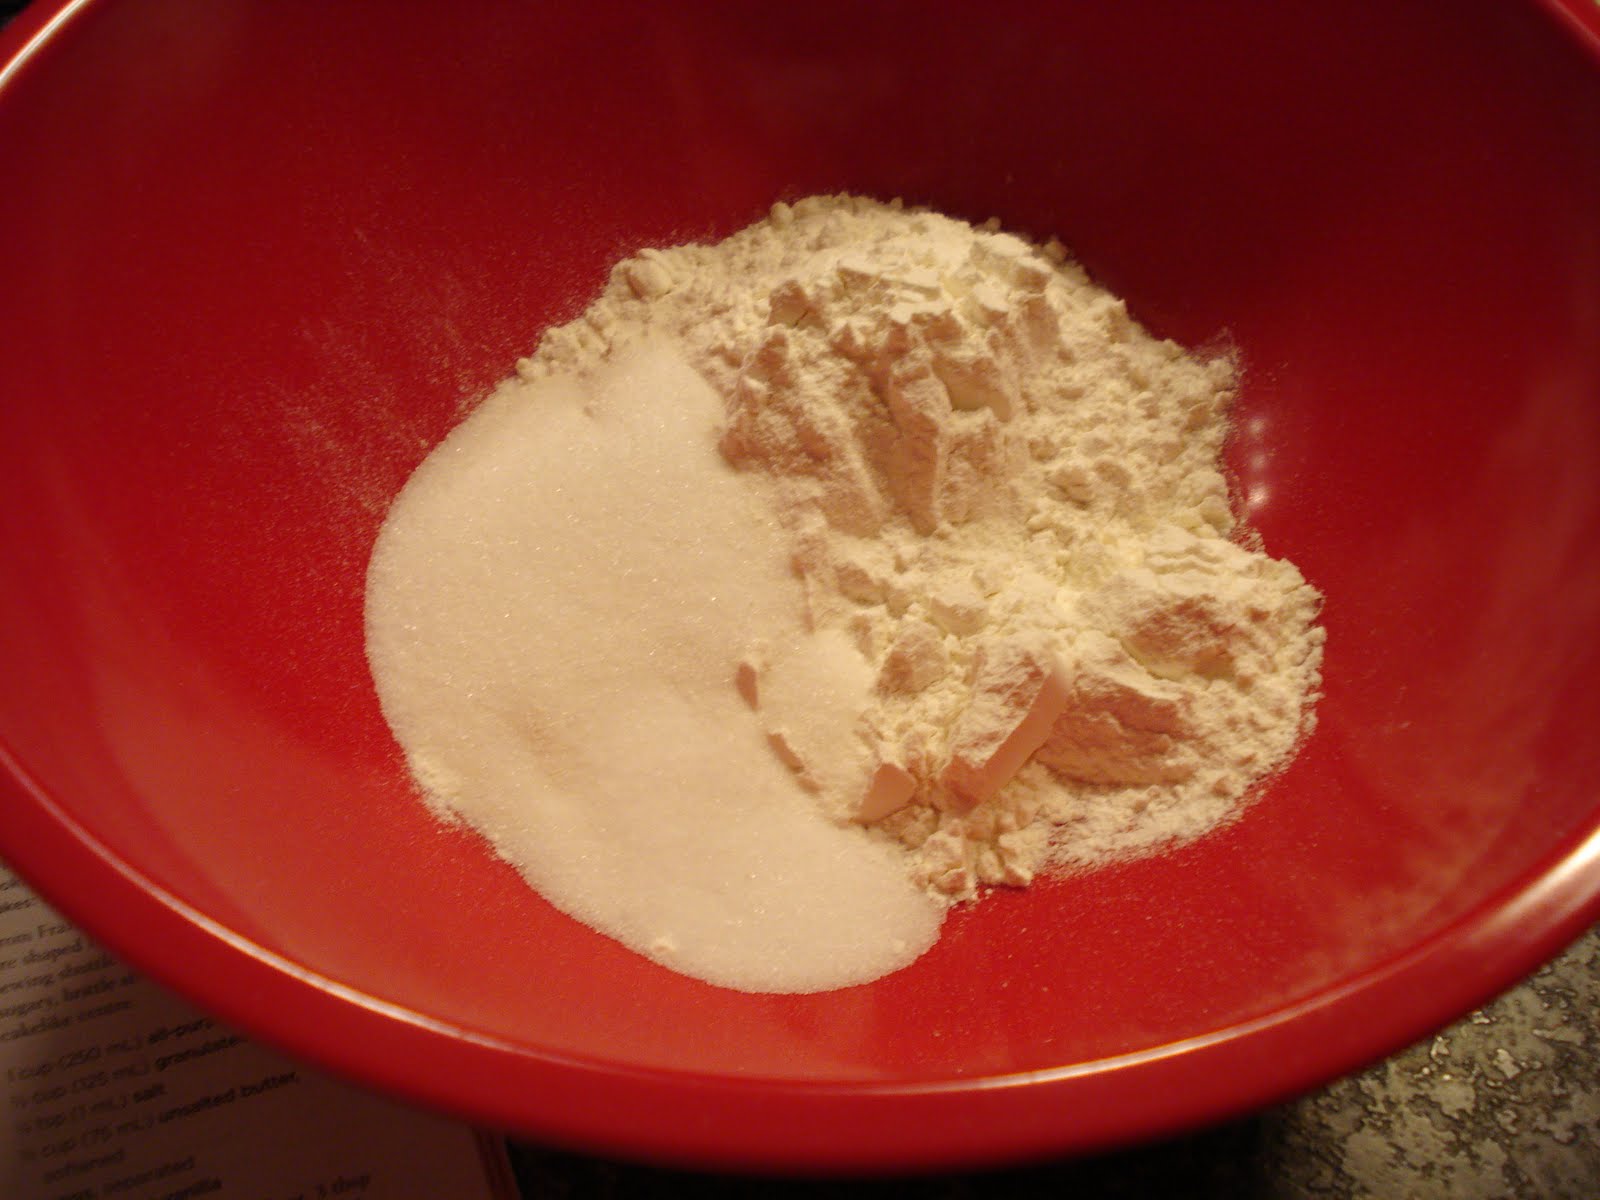
1. Sift flour and baking powder together into a bowl. Place pecans, confectioners sugar, salt, and cinnamon in a food processor until finely ground (* I did it the old-fashioned way with a knife... by the way, finely grinding whole pecans by hand takes a looooong time). Transfer to the bowl of an electric mixer fitted with the paddle attachment.

2. Add butter and granulated sugar. Beat on medium speed until fluffy. Mix in vanilla and egg. Reduce speed to low. Add flour mixture, mix until combined. Halve dough; shape into disks. Wrap each disk in plastic, refrigerate until firm - at least two hours.

3. Preheat oven to 375* F. Working with one disk at a time, roll out dough on a lightly floured surface to 1/8 inch thick. Refrigerate 20 minutes (* It was getting late... no extra fridge time for me!). Cut out centers of half the squares with a 1/2 inch fluted heart cutter. Space 2 inches apart on parchment paper-lined baking sheets. Bake squares and hearts until pale golden, 8 to 10 minutes. Transfer to racks to cool.

4. Meanwhile, heat jam in a small saucepan over medium heat until reduced and thickened, about 7 minutes. Let cool.

5. Sprinkle cutout cookies with confectioners' sugar. Spread jam onto uncut squares, top with cutout ones. Cookies can be stored in an airtight container at room temperature up to 2 days.


I want to be able to tell you how yummy these cookies are after they've been jammed, sugared, and assembled... but sadly, I still haven't tried one (it's late Wednesday night as I type this). The individual pieces taste really good, so I can only imagine it all together!


Wednesday, January 5, 2011

Sweet and Yummy, Where Art Thou?

I have a confession. I'm tired of baking cookies.

Well, not really baking - its more the consumption part of the equation that gets to me. This past holiday season cookie-d me out. I cookie OD'ed. I find it even shocking to write, let alone come to terms with these sentences.

Sunday, December 26, 2010

Double Chocolate Cranberry Chunkies

Sweet Sunday Yummy Lit Review:
Double Chocolate Cranberry Chunkies

Over the last few weeks I have been remaking the cookies that I fell in love with during 2010. What can I say - I wanted to make sure that I only served the very best cookies to company, friends, and family during the holiday season.

One of the cookies I've been making by the batch this week has not been featured on Coffee Tale Reviews... yet.

Monday, December 20, 2010

Long Distance Baking

Gingerbread Cookies:
Not a Sweet Sunday Yummy Lit Review


Have you ever baked with a friend over the phone? I never thought of it until E rang me during my gingerbread cookie baking session. I didn't quite feel like putting a stop to my baking nor telling him to ring another time. Instead, with phone rammed between my shoulder and ear, I had a halfway across the world 'baking-with-friends' experience.

Sunday, November 28, 2010

Navettes Sucrees

Sweet Sunday Yummy Lit Review:
Navettes Sucrees

Last night I debated what to make for this review. Delicious cranberry/chocolate cookies... or these unique and slightly odd looking French Christmas cookies. In the end, out of a desire to look maybe a bit more 'international,' I decided to go with the French.

I'm once again using the Canadian Living cookbook. On page 57 it says...


1 cup all purpose flour
1/2 cup granulated sugar
1/4 tsp salt
1/3 cup unsalted butter, softened
2 eggs, separated
3/4 tsp vanilla.


In bowl, whisk together flour, 3 tbsp of the sugar, and salt. With fork, cut in butter; stir in egg yolks and vanilla.


On lightly floured surface, knead dough until smooth and holds together. Press into disc; wrap and refrigerate for 1 hour.


Roll by 2 tsp into 2-inch long logs. In small bowl, whisk egg whites. With fork, dip each log into egg whites, allowing excess to drip back into bowl. Roll in small bowl of remaining sugar.

Bake for 20-22 minutes at 325*F.


I should have known from the moment I opened my egg carton that things would not go well. Cracked eggs. Yes, there sitting in my carton was two cracked eggs. My baking time immediately became pushed back as I decided to clean the carton, clean the eggs, and then try to separate the eggs.

Now, I know how to separate eggs just as well as any other cookie baker... Well, maybe not Martha. Anyways, I really know how to do it. But last night it just would not work. I'd crack the egg open and the shell would splinter into a million pieces. I crack another egg and the yolk would automatically break. It took me four eggs to get the job done.


And then kneading the dough... the ingredients are so very dry that it takes a lot of kneading to get it all to stick together. Make sure you're not tired when you attempt this recipe. By the end of my kneading, the dry ingredients were well combined. But the end product looked a lot like a brain sitting on my kitchen table.

Also, these cookies really stick to your baking sheet after a dip in the egg white mixture and a quick roll in sugar. Be ready to scrape your pans... hard.

And, of course, the most important part... how do they taste?


Navettes Sucrees are sugary on the outside with a hard brittle like shell, and cakey and moist in the inside. The different consistencies almost make me want to call it French Twinkies... but I think I would offend French bakers everywhere with that analogy.

My final verdict? These cookies are a lot of work. They don't make me go 'mmmmmmm' with an explosion of intoxicating flavours after the first bite... nor after the last.

Maybe, if you really feel like being 'international,' give them a try... But, as of right now I am just a little bit regretting my decline to the cranberry/chocolate cookie that I oh so craved.

Sunday, November 21, 2010

Brown Butter Babies

Sweet Sunday Yummy Lit Review:
Brown Butter Babies

I realized earlier this week that it has been an exceedingly long time since I donned an apron, tied back my hair, and tackled a cookie recipe. So, with Sunday's Yummy Lit Review looming at my doorstep, I knew I had to tackle a new cookie creation. That's right -- after a month of no cookies, I'm finally back at it!

This morning I tried out a recipe from last week's baking magazine, Canadian Living. On page 27 (in case you're in my neck of the woods and would like to check out the hard copy) it says we'll need:


3/4 cup unsalted butter
1 1/2 cups packed dark brown sugar
1 egg
1 egg yolk
1 1/4 tsp vanilla
2 cups all-purpose flour
1/2 tsp baking powder
1/4 tsp each of baking soda and salt
3 tbsp granulated sugar
30 walnut halves (I just used cut up walnuts, definitely not 30 and definitely not halved)

In small saucepan, cook butter over medium heat until brown and nutty, about 5 minuets. Let cool.


In large bowl, beat brown sugar with cooled butter until fluffy. Beat in egg, egg yolk, and vanilla.

In separate bowl, whisk together flour, baking powder, baking soda, and salt; stir into butter mixture in two additions.


Roll by rounded 1 tbsp into balls; roll in granulated sugar. Place, about 3 inches apart, on parchment paper-lined baking sheets (*I use Pam instead). With bottom of glass or measuring cup, press to scant 1/2 inch thickness. Press walnut half into centre of each.

Bake in 350* oven until golden, 12 to 14 minutes. Lt cool on pans on racks for 3 minutes; transfer to racks and let cool completely.


They say these cookies are for Christmas. I say, not so! When I took the first bite I wasn't sold on them. They are very sugary. There's something about them that does remind me of a Christmas cookie in the style of speculaas or gingerbread... but none of the required spices are in this creation.

After an enjoyable phone call and a second cookie I'm thinking they're not so bad after all. Maybe my good mood rubbed off on my cooking rating? I'm not so sure. They're pretty, I will give them that. But in the taste department they are nothing to rave home about.

Sunday, October 17, 2010

Black Cats and October Stars

Sweet Sunday Yummy Lit Review:
Black Cats and October Stars

First off - I finally have a computer-camera connection! And, I couldn't think of a better way to celebrate the end of a week of crazy due dates, late night research, and laptop drama than making a fresh batch of Halloween cookies.

These cookies are brand new to me... well kind of. See, there's this old Christmas Cookies recipe in my family. But it's Christmas Cookies - usually in the form of Christmas trees, Santa, stars... you get the picture. However, venturing into food coloured icing and spooky cats were uncharted cookie territory for me... until last night.


Here's the cookie recipe:

Combine in a bowl and set aside:
2 3/4 cups flour
1 tsp baking powder
1/2 tsp salt

Cream together in a mixer:
3/4 cup soft butter
1 cup sugar
2 eggs
1 tsp vanilla extract (or almond)

- beat in the flour mixture until smooth
- chill for one hour or until firm
- roll a small amount of dough 1/8 inch thick (keep remaining dough in fridge until ready to use)
- cut into desired shapes
- put onto greased cookie sheet
- bake at 375* F for 8 to 10 minutes
- remove to wire racks to cool


And the Icing (from The Baker's Bible, p 454):

3/4 cup icing sugar
2-3 tablespoons milk
1 tablespoon lemon juice
Red, Blue, and Yellow food colouring

Mix it all ingredients together, add a few drops of the colouring until the desired shades are reached.


These cookies were so much fun to make! Messy, and a bit time consuming, but fun nonetheless.

Getting the right colours might be tricky... at least it was for me. I went to the grocery store expecting to be able to buy black and orange food colouring. Instead I discovered that you can only buy the primary colours (and green, too). So, as a heads up, to make black combine a few drops of red, blue, and yellow food colouring. To get the exact shades will take a bit of time... especially if you haven't ventured into the art world for quite a while.

But, after a fun adventure with food colouring, I now have a cookie jar that practically screams Happy Halloween. Spooky black cats and red, orange, and yellow stars make the perfect festive cookie treat.

Hope you all have a Sweet Sunday,
Ms. C.

Sunday, October 3, 2010

Cocoa Ginger Crisps


Sweet Sunday Yummy Lit Review: Cocoa Ginger Crisps

Over the past two weeks I have had E living with me. While we had a great time looking around the city during the day, at night I was privileged enough to dress him up in baking gear and acquire a brand new baking buddy. One of the recipes we tried out was Cocoa Ginger Crisps, a spicy chocolate biscuit.


The Cookie Bible says I will need:

1 cup butter/margarine, softened
1 1/3 cups sugar, divided
1 egg
1/4 cup light corn syrup
2 cups all-purpose flour
6 tablespoons plus 1 1/4 teaspoon Cocoa, divided
2 teaspoons baking soda
1/4 teaspoon ground ginger
1/4 teaspoon salt

Beat butter, 1 cup sugar and egg in large bowl until fluffy. Add corn syrup; beat until well blended. Stir together flour, 6 tablespoons cocoa, baking soda, ginger, and salt; gradually add to butter mixture, beating until well blended. Cover; refrigerate dough about 1 hour or until firm enough to handle.

Heat oven to 375* F.

Stir together remaining 1/3 cup sugar and 1 1/4 teaspoons cocoa in shallow bowl. Shape dough into 1-inch balls; roll in sugar-cocoa mixture to coat. Place about 2 inches apart on ungreased cookie sheet.

Bake 10-12 minutes or until cookies flatten. Cool 1 minute; remove from cookie sheet to wire rack. Cool completely.


These cookies were a pleasure to make. There's something therapeutic about rolling brown balls in sugar and cocoa, turning them from a dull brown to a sparkly iridescence. After 10 minutes in the oven they flattened out into a soft, yet crispy texture... and they were ever-so yummy!

To cap it off, the recipe yielded around 4 dozen cookies... just enough to share with CurlyJ and her husband the following night during a trip to Vancouver.

Sunday, September 19, 2010

Pumpkin Pecan Chocolate Chunk Cookies

Sweet Sunday's Yummy Lit Review:
Pumpkin Pecan Chocolate Chunk Cookies

I opted to bring in the Fall baking season a few days early this year with the leaves already turning red and the return of Vancouver's rainy season. What better way to do that than bring out the pumpkin?

Pumpkin. Some may call it a large, round, thick skinned, and dry fruit. But, put into baking terms, I think I prefer to describe it as bright orange, spicy, and moist (it definitely made some strange noises when I spooned it out of the can)... oh and yummy.

This week I have used a recipe from another blogger - bakerella.com. Loaded with baking tips, recipes, and delicious imagery this site is certainly worth a visit!


Bakerella says I will need:

2 1/4 cup self-rising flour
3 tsp pumpkin pie spice
3/4 cup butter, room temperature
1 1/4 cup light brown sugar
1 cup sugar
2 tsp vanilla
2 eggs
1 cup canned pumpkin
1 cup chopped pecans
1 1/2 cup semi-sweet chocolate chunks

Whisk together flour and pumpkin pie spice. Set aside.
In a large bowl, cream butter.
Add both sugars and beat until light and fluffy.
Add vanilla.
Add eggs one at a time and beat until combined.
Add flour/spice mixture to sugar mixture in three additions. Alternate with pumpkin in two additions, ending with flour mixture.
Stir in chopped pecans and chocolate chunks.
Drop on cookie tray lined with parchment paper.
Bake at 350 degrees for 10-12 minutes. Makes about four dozen cookies.
Let cool.

I should note that Bakerella tops these cookies off with Maple Brown Butter Frosting. I opted to avoid this addition.


I'm going to admit that I am a bit torn about these cookies. The pumpkin and added spices make the cookie truly unforgettable - in a very good way at that. But the cookie felt too moist. I'm not sure if it wasn't in the oven long enough (I don't think is the case though - I even did the "insert toothpick - pull out dry" test to make sure). Maybe there wasn't enough flour? Too much pumpkin? Or is it just supposed to be this moist?

Pumpkin Pecan Chocolate Chunk cookies are good but may need some added help. Have fun experimenting!

Sunday, September 12, 2010

Banana Chocolate Chip Cookies


Sweet Sunday Yummy Lit Review:
Banana Chocolate Chip Cookies

This week I would like to introduce, for those who have not yet had the good fortune of encountering, the Banana Chocolate Chip Cookie. This cookie is truly divine... a combination of the moist texture and delicious flavour of banana bread all rolled into a bite-size cookie!

Okay, I admit that is a grand statement... but these cookies are truly that. They are really good.

I found the recipe at Taste and Tell who, in turn, found the recipe from The Field Guide to Cookies.


Taste and Tell says I will need:

1 1/2 cup flour
1 3/4 cup rolled old-fashioned oats
1/2 teaspoon baking soda
1/2 teaspoon ground cinnamon
1 teaspoon salt
3/4 cup softened butter
1 cup sugar
1 egg
1/2 teaspoon vanilla
1 cup mashed ripe banana
1 cup chocolate chips

Preheat the oven to 375F. Line baking sheets with parchment paper.

Sift the flour, oats, baking soda, cinnamon and salt together. In a stand mixer, cream the butter and sugar until light and fluffy. Add the egg and vanilla and mix until combined. Add half the flour mixture, mix, and then add the banana and mix. Add the rest of the flour mixture and mix until combined. Mix in chocolate chips.

Drop tablespoon sized balls onto the prepared baking sheets. Bake in the preheated oven for 12 to 14 minutes, rotating halfway through.

Makes about 3 1/2 dozen cookies.


I'll start by saying that I will definitely be visiting Taste and Tell again. It is an awesome blog - very easy to navigate, a good selection of recipes, and entertaining to boot. The recipe for Banana Chocolate Chip Cookies is perfect. I didn't have to change anything from the ingredients list or have to adjust the baking time. I even ended up having exactly three and a half dozen cookies.

The downside to these cookies turning out so downright perfect... and being eaten up so quickly by passersby... is that I don't have any kind of critique to give them.

They are good. That's just it.
If you feel like something banana-ish and chocolate-y, give it a shot. You won't be disappointed.


Hope you all have a sweet Sunday!


P.S. Jack Johnson's Banana Pancakes is the perfect song to accompany this baking adventure. I swear these cookies could have inspired the lyrics... if only they were pancakes.


Sunday, September 5, 2010

Peanut Butter and Jelly Thumbprints

Sweet Sunday's Yummy Lit Review:
Peanut Butter and Jelly Thumbprints


I have a confession.
I have never eaten a peanut butter and jelly sandwich.

It has never sounded, or for that matter looked, appetizing to me. The colour and consistency have put me off countless times - brown paste with something red and sticky? No thank you.

Never having eaten a peanut butter and jelly sandwich (a staple of most children's diets) combined with my intense dislike for meat products means that I spent most of my childhood eating cheese sandwiches. To this day I can't look at cheddar/American cheese between two pieces of untoasted bread without having flashbacks of lunch hours spent in my school's cafeteria room.

Flash-forward a handful of years, and here you have a 20-something year old woman who has never experienced the combined flavours of peanut butter and jelly... until she read about it in a cookie book, that is. I figured there was no time like the present to lose my peanut butter and jelly virginity.


The Cookie Bible (2004, p 260) tells me that to do so I'll need:

1 1/2 cups all-purpose flour
1/2 cups sugar
1/2 teaspoon baking soda
1/4 teaspoon salt
3/4 cup creamy peanut butter
1/4 cup butter, softened
1/4 cup honey
1 tablespoon milk
Any flavour jelly

In a large bowl, combine flour, sugar, baking soda, and salt. Add peanut butter and butter; mix until crumbly. Stir in honey and milk. Shae into 1-inch balls. Place 2 inches apart on ungreased baking sheets. Press thumb into center of each ball; place 1/2 teaspoon jelly into each thumbprint. Bake at 375*F for 8 to 10 minutes. Cool on baking sheets 1 minute before removing to wire racks. Store in airtight container.
Makes 2 dozen cookies.


I'll admit that I did change the recipe around a little. Instead of creamy peanut butter I used the chunky kind... which gave the cookie a more nutty, yet crumbly, texture. I also forfeited jelly for natural, wholesome strawberry jam from Krause Farms. I don't know if any of you live in or close to BC, but be sure to check out Krause Farms if you do. I swear it's the homeplace of some of the best fruits and vegetables I've ever tasted. They have these apples that taste better than candy, and that's saying something coming from me... but I digress...

So how did my first time with peanut butter and jelly (well jam) go?

Great! The recipe is super easy to follow... no weird steps, no faulty directions, no need to drastically change anything. Making Peanut Butter and Jelly Thumbprints is quite rewarding really - spend a short amount of time at an easy task and boom - 1o minutes later really yummy and quite aesthetically pleasing cookies come out of your oven.

I was even pleasantly surprised by the flavour combination. Peanut butter and jelly is good! Who would have thought... well besides all those kids who have spent decades happily munching down on those sandwiches. Maybe they're onto something.

I'll admit though - I am still not ready to try a peanut butter and jelly sandwich. The combination of their colour and consistency between two slices of untoasted bread still doesn't look too appetizing to me.

Are there any 'normal' food combinations that you just can't bring yourself to try?

Happy Sweet Sunday!
Related Posts Plugin for WordPress, Blogger...